Chariot
0
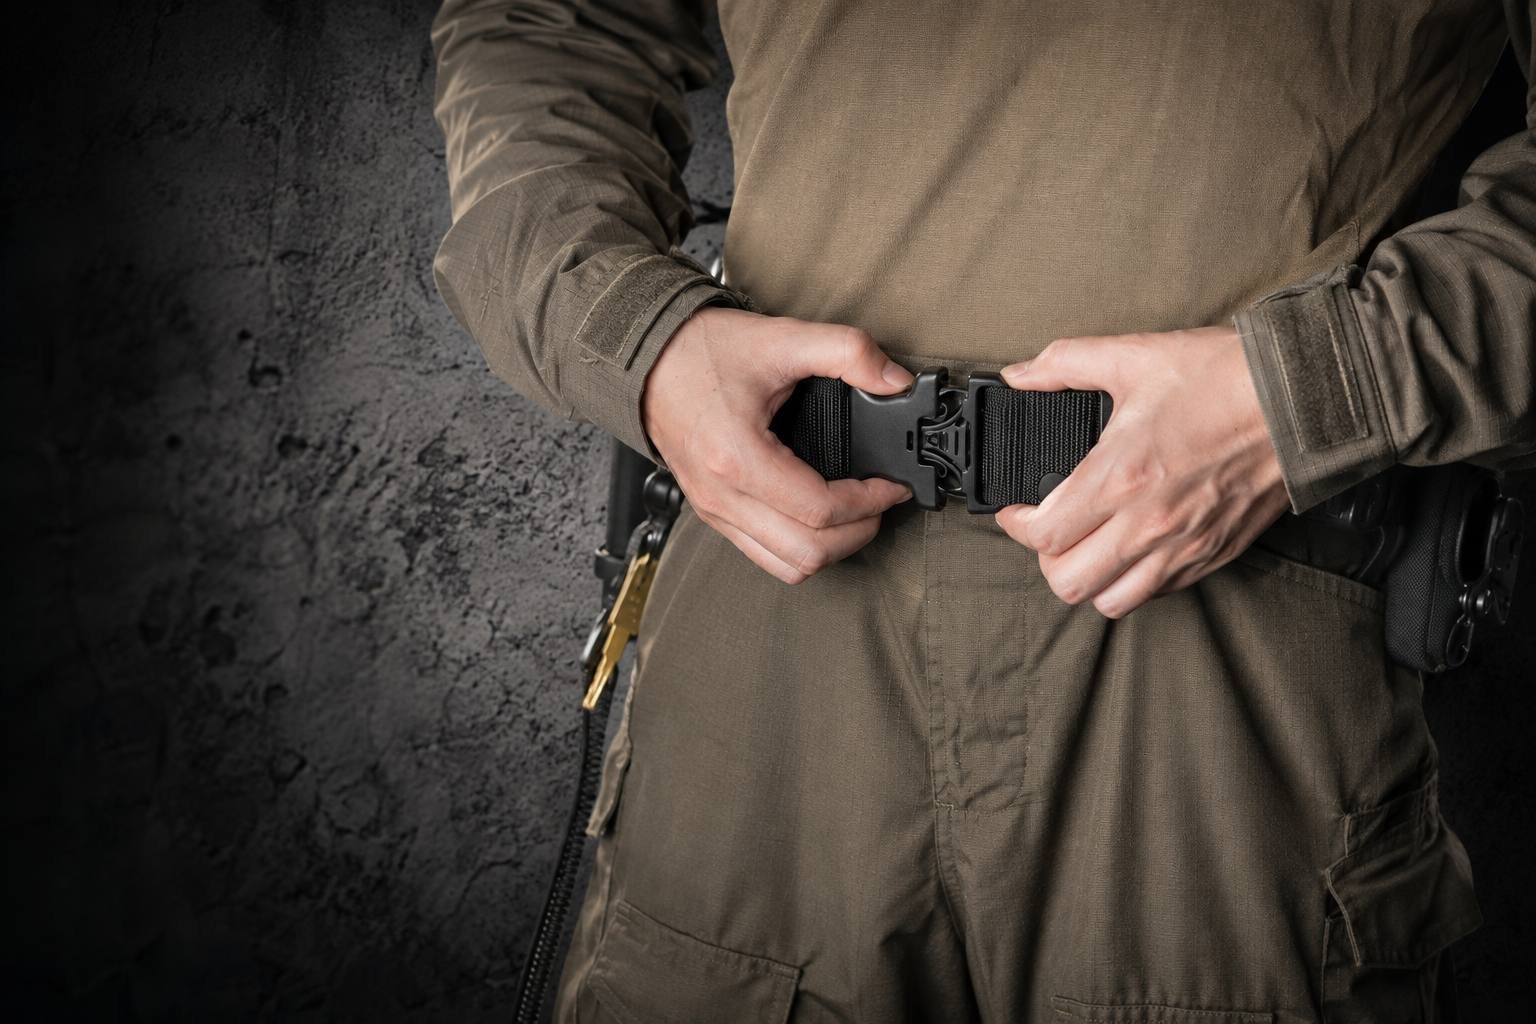
A good battle belt setup shouldn't look like you emptied a gear closet onto your waist.
It should feel almost boring—in the best possible way.
Everything has a reason to be there. Frequently used gear is easy to reach. Emergency equipment stays accessible. Nothing digs into your back when you sit down, and nothing starts bouncing around the moment you move.
In 2026, that practical, modular approach is increasingly what separates a useful battle belt setup from an overloaded one.
Whether you're building a belt for range days, outdoor training, competition, professional duty use, or general preparedness, this guide covers what to carry, where to place it, and how to build a setup around what you actually do.
What Is a Battle Belt?

A battle belt—also commonly called a war belt, tactical belt, gun belt, or range belt—is a load-bearing belt designed to keep frequently used equipment organized around the waist.
Modern setups often use a two-piece system:
- An inner belt passes through or sits against your normal belt line.
- An outer belt attaches securely over it and carries your equipment.
The advantage is simple: instead of digging through a pack every time you need something, essential equipment stays organized and accessible.
A battle belt can be configured differently depending on its purpose. A civilian range belt may carry only a few essentials, while professional duty users may require additional equipment based on agency policy and assignment.
If you're starting your build, explore the OneTigris Tactical Belt Collection to compare different belt platforms and configurations.
(If the link above doesn't work, use this one: https://tactical.onetigris.com/collections/tactical-belt)
The 2026 Battle Belt Trend: Carry Less, Configure Smarter

For years, tactical gear had a tendency to move in one direction: more.
More pouches. More accessories. More "just in case" gear.
The better question for a modern tactical belt setup is:
Do you actually use it?
For many civilian, range, outdoor, and training applications, a lighter modular setup offers several advantages. It can reduce fatigue, leave more room around the waist, interfere less with backpacks or outerwear, and make it easier to change the belt for different activities.
Instead of trying to build one belt that does absolutely everything, think in modules:
Core gear → medical → activity-specific equipment → optional extras
That mindset also makes upgrading easier. You don't have to rebuild your entire system every time your needs change.
Battle Belt Setup: What Should You Carry?
There isn't one universally correct loadout.
A better setup begins with your intended use.
For a typical civilian range belt setup, the categories may include:
- Belt and retention system
- Equipment appropriate to your range activity
- Individual first-aid kit (IFAK)
- Dump or utility pouch
- Gloves
- Small utility tool
- Flashlight
- Optional communication or activity-specific equipment
Professional users should configure equipment according to applicable department, unit, workplace, and training requirements rather than copying a belt seen online.
And here's an underrated rule:
If you can't explain why something is on your belt, reconsider whether it needs to be there.
Where Should Everything Go on a Battle Belt?

Imagine looking down at your waist like a clock.
Your belt buckle is roughly 12 o'clock, your right hip is around 3 o'clock, your back is 6 o'clock, and your left hip is around 9 o'clock.
There is no universal "correct" position because body shape, handedness, equipment, training, and intended use all matter.
A sensible starting point is to arrange equipment by three principles:
- Frequency — frequently accessed items should be convenient.
- Accessibility — emergency equipment should remain reachable.
- Comfort — bulky or rigid equipment shouldn't create unnecessary pressure points.
Then test the configuration rather than treating the first layout as permanent.
1. Keep the Front of the Belt Relatively Clean
The area around 11 to 1 o'clock is usually worth keeping relatively uncluttered.
Why?
Because that's where your body bends.
Large pouches directly at the front can become annoying when kneeling, sitting, climbing, getting into a vehicle, or wearing other equipment.
A cleaner front also makes the belt easier to buckle and adjust.
Minimalism isn't just aesthetic here. It's ergonomics.
2. Place Frequently Used Equipment Where You Can Reach It Naturally
Your most frequently accessed equipment should be positioned where it can be reached without excessive twisting or awkward movement.
But don't blindly copy somebody else's Instagram setup.
A right-handed user and a left-handed user may prefer completely different arrangements. Someone using the belt primarily at a shooting range may configure it differently from a hiker, instructor, security professional, or search-and-rescue volunteer.
Build around your activity and your training, not somebody else's photograph.
3. Give Your IFAK a Dedicated Home
If you carry an Individual First Aid Kit, treat it as emergency equipment—not as another general-purpose storage pouch.
The kit should be:
- Clearly identifiable
- Securely retained
- Positioned where it can be accessed without unnecessary difficulty
- Kept consistent enough that you know where it is under stress
Common belt configurations place medical equipment toward the rear or rear-side portion of the belt, but the exact position should depend on your body, equipment, training, and whether the location remains comfortable when sitting.
Most importantly, owning medical equipment is not the same as knowing how to use it.
For civilian trauma education in the United States, the STOP THE BLEED® program provides information about bleeding-control training and courses.
(If the link above doesn't work, use this one: https://www.stopthebleed.org/)
For broader emergency preparedness information, Ready.gov also provides U.S. government preparedness resources.
(If the link above doesn't work, use this one: https://www.ready.gov/)
4. Add a Dump Pouch Only If Your Activity Needs One
The dump pouch is one of the most useful—and most abused—pieces of belt real estate.
At the range, a dump pouch can provide temporary storage for appropriate equipment, gloves, empty magazines, or other loose items.
Outside the range, it can become a convenient general-purpose pocket.
But if you never use it?
Take it off.
Modern minimalist battle belt setups work because every pouch earns its place.
Collapsible designs can be particularly useful when belt space is limited because they remain compact until needed.
5. Don't Turn the 6 O'Clock Position Into a Hard-Gear Parking Lot
Your lower back deserves some respect.
Large, rigid objects placed directly over the spine can become uncomfortable when sitting, driving, hiking with a pack, or working around vehicles.
This doesn't mean the rear of your belt must be completely empty. Soft or purpose-designed equipment may work there depending on the user.
It does mean you should perform a very sophisticated tactical test known as:
Sit down.
If something hurts, digs into your back, or pushes the entire belt out of position, move it.
Sometimes the best gear optimization costs exactly $0.
A Simple Battle Belt Layout for Beginners
If you're wondering how to set up a battle belt for the first time, resist the temptation to fill every available section of MOLLE.
Start with the belt itself and only the equipment required for your actual activity.
A simple civilian range-oriented system might conceptually look like this:
Front: Keep relatively clear
Support side: Frequently accessed activity-specific equipment
Rear-side: Utility or dump pouch
Rear: Medical equipment, where appropriate and comfortable
Dominant side: Equipment appropriate to the user's lawful range activity and training
Remaining space: Leave it empty unless you discover a genuine need
Empty MOLLE isn't a problem.
It's unused capacity.
Two-Piece Battle Belt vs. Padded Battle Belt
One of the most common long-tail searches is two piece battle belt vs padded battle belt.
Neither design automatically wins.
Two-Piece Battle Belt
A two-piece system typically uses an inner belt plus an outer equipment belt.
Best for:
Range training, competition, professional applications, and users who want a stable platform.
Advantages:
- Secure fit
- Less shifting during movement
- Easy to remove as one equipment layer
- Clean, modern profile
Consider:
The inner and outer components need to work correctly together, and fit matters.
Padded Battle Belt
A padded belt generally uses a cushioned interface between the load-bearing belt and the body.
Best for:
Outdoor use, longer wear, layering over clothing, and users prioritizing padding.
Advantages:
- Added comfort
- Easy to wear over different clothing layers
- Useful for outdoor and field applications
Consider:
Depending on design and load, padded systems can feel bulkier than low-profile two-piece belts.
The right answer depends less on what's "best" and more on how you'll actually use it.
How Tight Should a Battle Belt Be?
A tactical belt should generally be secure enough to resist excessive movement without being unnecessarily restrictive.
If it constantly rotates around your waist, your setup may be too loose, overloaded, poorly balanced, or improperly fitted.
If breathing, bending, or sitting becomes uncomfortable, reconsider the adjustment and load.
Test your belt while:
- Standing
- Walking
- Sitting
- Kneeling
- Bending
- Wearing your normal outdoor clothing
- Wearing any backpack or compatible gear you routinely use
A belt that feels perfect in front of a mirror may feel completely different after an hour outside.
MOLLE vs. Belt-Mounted Pouches

Another common question is whether equipment should use MOLLE attachment or direct belt mounting.
MOLLE-style attachment can offer excellent modularity. It makes it easier to experiment with different pouch positions and change the belt as your needs evolve.
Direct belt mounting may provide a lower-profile solution for compatible equipment.
Neither is universally superior.
For a versatile MOLLE battle belt setup, prioritize secure attachment, minimal unwanted movement, and compatibility between the belt and the equipment you're mounting.
Whatever attachment method you use, test it before relying on it.
How Much Weight Should You Put on a Battle Belt?
Less than you're tempted to.
There isn't a magic weight limit that works for everyone. Belt construction, body size, fitness, duration of wear, equipment type, and activity all affect comfort.
Instead of chasing a number, watch for symptoms of overloading:
- Belt sag
- Excessive bouncing
- Hip discomfort
- Restricted movement
- Equipment interfering with sitting
- Constantly repositioning the belt
- Unnecessary duplication of equipment
If your battle belt starts feeling like a hiking backpack wrapped around your waist, some gear probably belongs somewhere else.
Battle Belt vs. Chest Rig: Do You Need Both?
Not necessarily.
A battle belt vs chest rig comparison comes down to capacity and intended use.
A belt offers fast access to a smaller amount of equipment while keeping much of the torso relatively clear.
A chest rig provides substantially more carrying capacity but adds equipment to the upper body.
For many range users, a standalone belt may be enough. Others may combine compatible load-bearing systems when their activity requires additional equipment.
The important part is avoiding unnecessary duplication.
More carrying capacity does not automatically equal a better setup.
Don't Forget Hearing and Eye Protection
Tactical-looking gear gets attention.
Hearing protection isn't nearly as photogenic.
It's also considerably more important to your long-term health.
Anyone participating in shooting sports should use appropriate eye and hearing protection and follow the safety rules and requirements of the range, facility, equipment manufacturer, and relevant organizations.
The U.S. National Institute for Occupational Safety and Health provides information about noise and hearing loss prevention.
(If the link above doesn't work, use this one: https://www.cdc.gov/niosh/noise/)
Your belt can be replaced.
Your hearing is considerably less cooperative.
Build for Your Mission, Not the Internet
One of the biggest changes in tactical gear culture heading into 2026 is a stronger emphasis on mission-specific modularity.
That's a complicated way of saying:
Carry what your activity requires. Leave off what it doesn't.
A range setup doesn't need to imitate a military loadout.
A hiking or outdoor preparedness belt doesn't need to imitate a law-enforcement duty belt.
And professional users shouldn't configure life-safety equipment based on a YouTube thumbnail.
Start with your actual requirements. Train with the setup. Identify what gets in the way. Change it. Repeat.
That's how a belt becomes your system instead of a collection of accessories.
Choosing a Battle Belt in 2026
Before buying a tactical belt, consider these factors:
Fit and Adjustability
A belt needs to fit securely across the clothing and equipment layers you actually wear.
Attachment Options
Consider whether you need MOLLE-compatible attachment, direct belt mounting, or a combination.
Rigidity
A load-bearing belt should provide appropriate structural support for the equipment it is designed to carry.
Comfort
Pay attention to edge construction, padding, weight distribution, and how the belt feels while moving and sitting.
Modularity
Your needs may change. A flexible platform makes it easier to adjust your battle belt loadout without replacing the entire system.
Intended Use
Range day? Outdoor training? Competition? Professional duty? Preparedness?
Choose the belt around the job—not the other way around.
You can compare available platforms in the OneTigris Tactical Belt Collection.
(If the link above doesn't work, use this one: https://tactical.onetigris.com/collections/tactical-belt)
Final Thoughts: The Best Battle Belt Setup Is the One You've Tested
There is no perfect diagram showing exactly what to put on a battle belt and where to put it.
Bodies are different. Activities are different. Training is different.
But good setups tend to share the same qualities:
They're secure.
They're comfortable.
They're organized.
They're no heavier than necessary.
And the person wearing the belt actually knows where everything is.
Start simple. Configure around your intended use. Wear the belt for a full training session or outdoor trip before adding more equipment.
Because in 2026, the smartest battle belt setup isn't the one with the most gear.
It's the one where everything has a job.
Battle Belt Setup FAQ
What should I put on a battle belt?
For civilian range, outdoor, or preparedness use, a battle belt can carry activity-specific equipment, an IFAK, utility or dump pouch, gloves, flashlight, and other genuinely necessary items. Your exact setup should reflect your activity, training, applicable laws, and range or workplace rules.
Where should an IFAK go on a battle belt?
There is no universal position. Many users choose a rear or rear-side location, provided the kit remains accessible and does not create an uncomfortable pressure point. Medical equipment should be paired with appropriate first-aid or bleeding-control training.
Should the front of a battle belt be empty?
It doesn't need to be completely empty, but keeping the center-front relatively clear can make bending, sitting, kneeling, and adjusting the belt more comfortable.
Are two-piece battle belts better?
Two-piece battle belts can provide excellent stability because the outer equipment belt interfaces with an inner belt. Padded systems may offer advantages for extended wear or use over clothing. The better option depends on your application.
Can you wear a battle belt with a backpack?
Yes, depending on the designs involved. Test the belt and backpack together because hip belts, lumbar padding, pouches, and rear-mounted equipment can interfere with each other.
How do I stop my battle belt from moving?
Check belt sizing and adjustment first. Excessive movement can also come from poor weight distribution, an overloaded belt, loose attachments, or incompatibility between inner and outer components.
Is a battle belt worth it for range use?
For many regular range users, a properly configured range belt can help keep frequently used equipment organized and reduce repeated trips to a gear bag. A simple setup is usually a better starting point than immediately filling every available attachment point.