Cart
0
MOLLE System Setup Guide: How to Build Your First Tactical Loadout
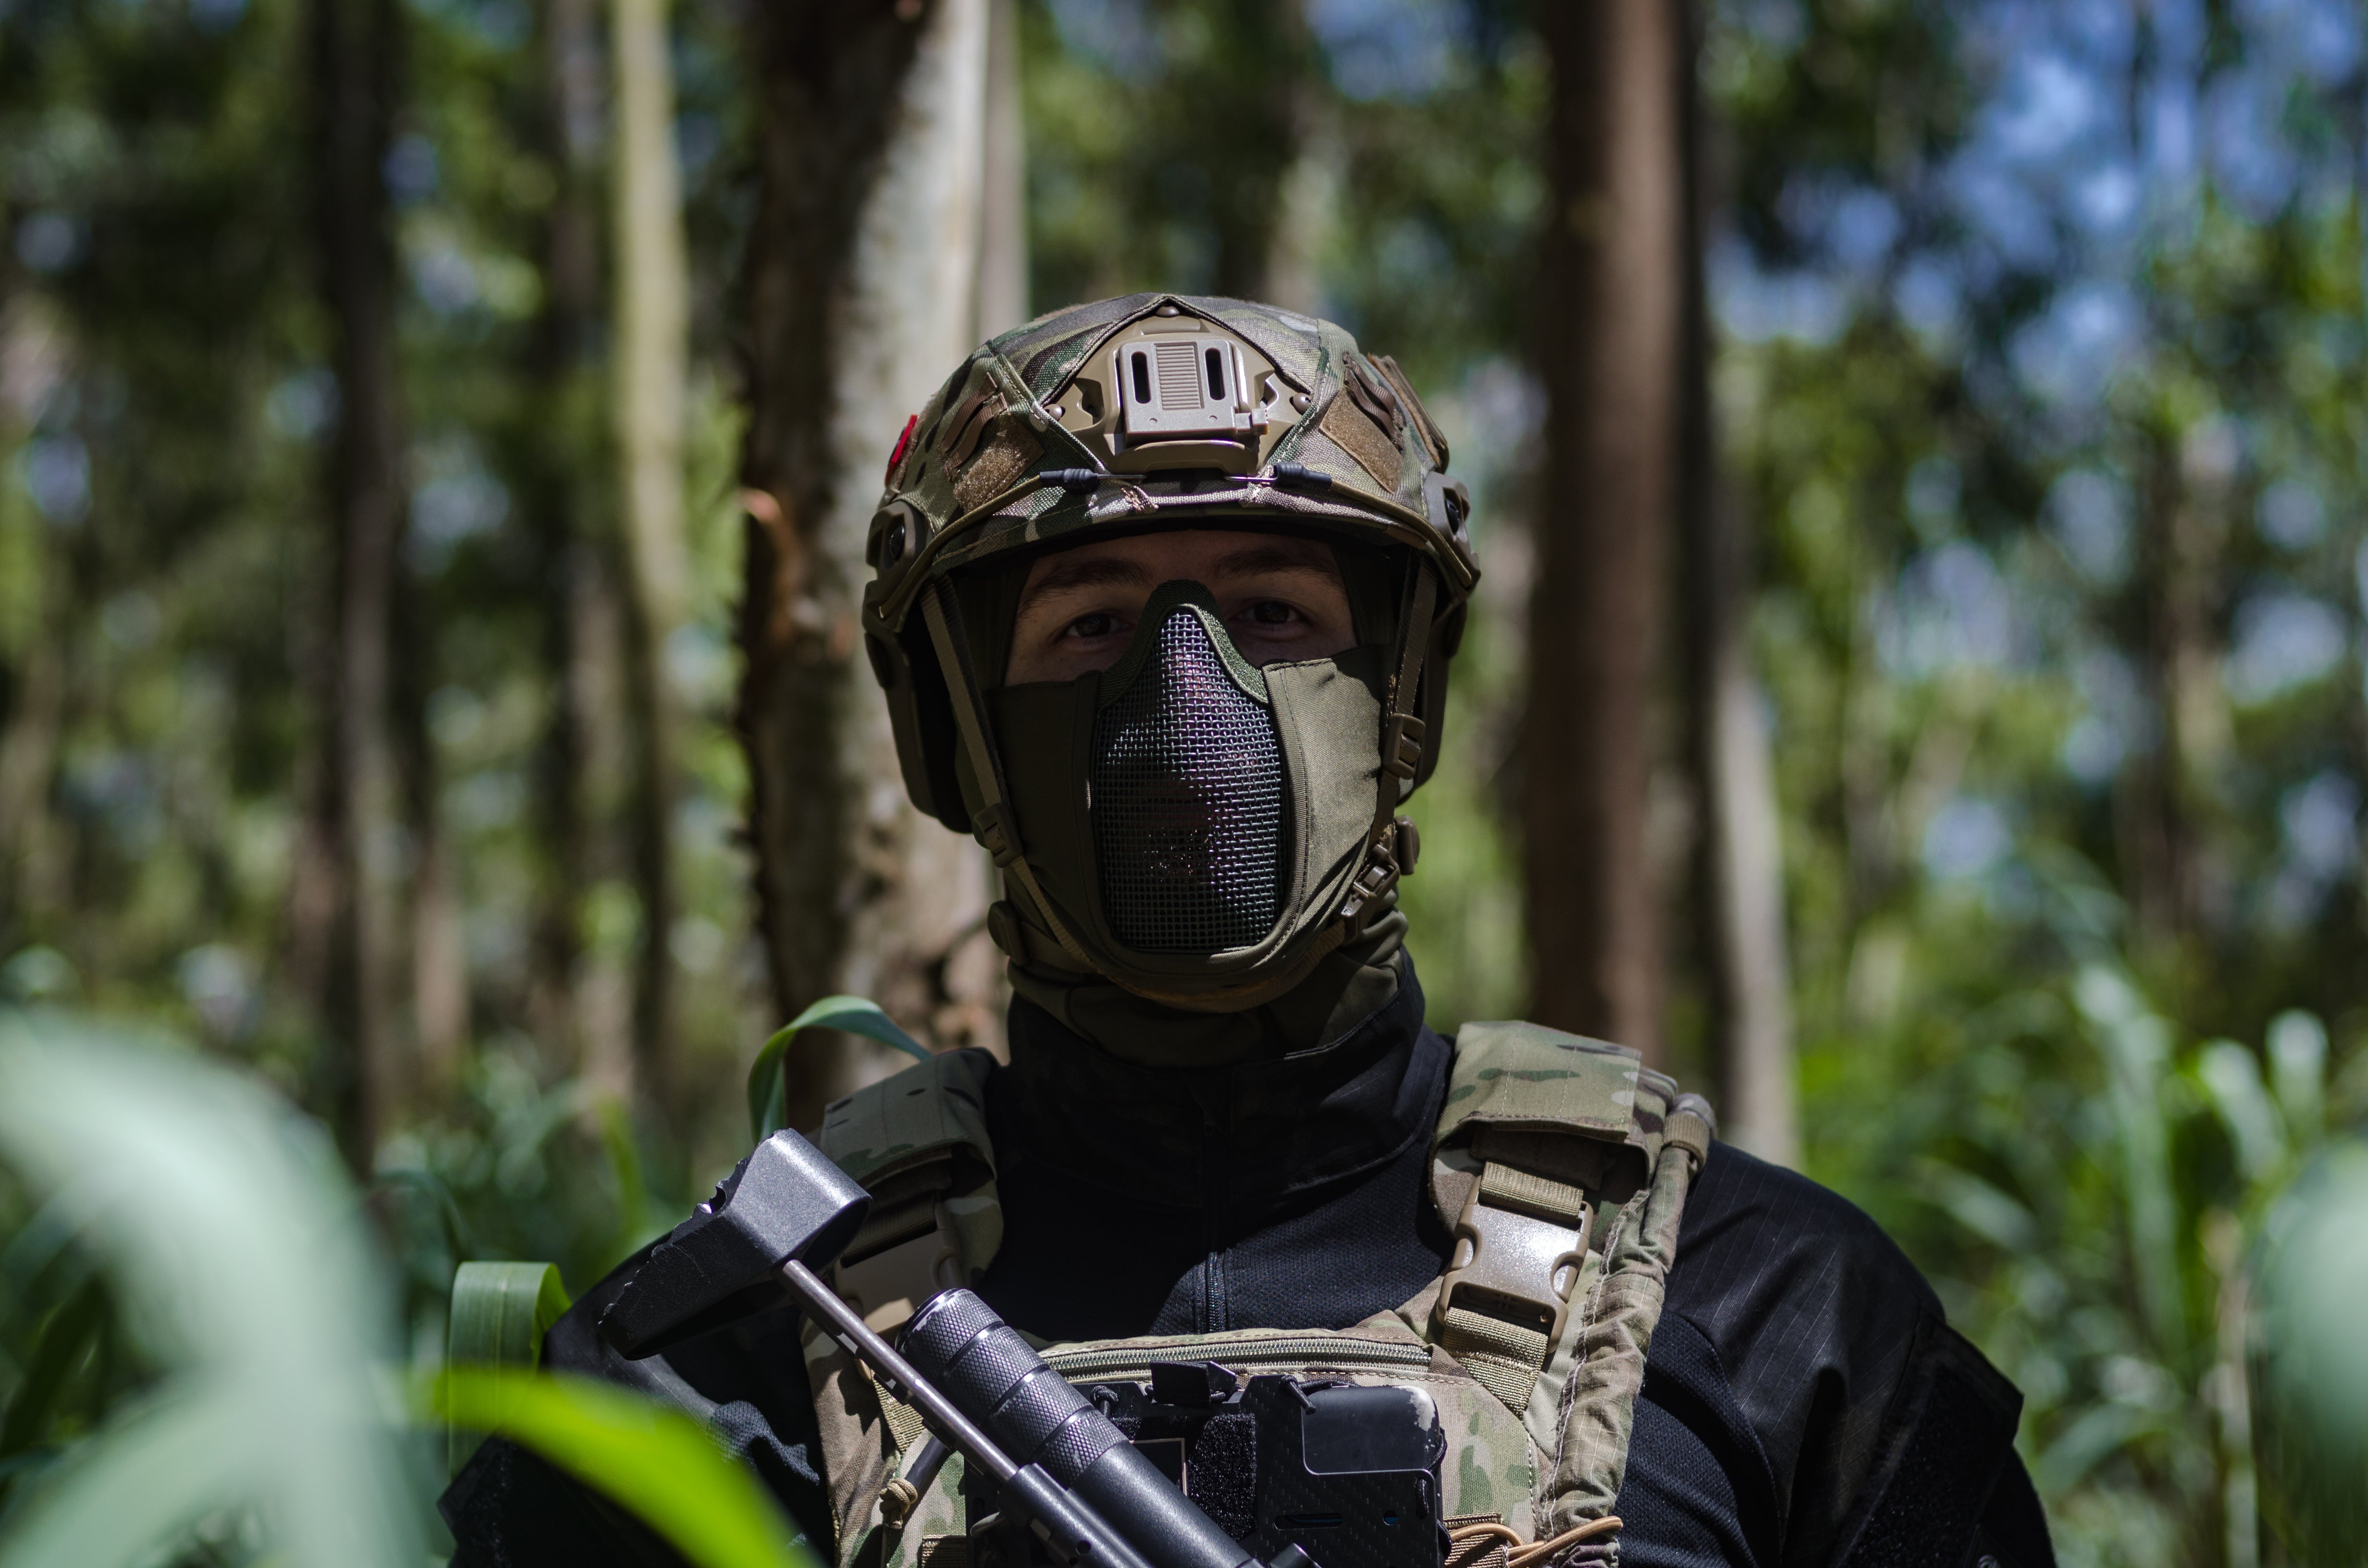
You've just picked up your first tactical vest or chest rig, and now you're staring at a wall of MOLLE webbing wondering where to start. You're not alone.
The MOLLE system is one of the most versatile gear attachment platforms ever designed — but that versatility can feel overwhelming when you're new to it. Too many pouches in the wrong places, and your loadout becomes a liability instead of an asset. Get it right, and you'll have a setup that's fast, comfortable, and built for whatever the day demands.
This guide breaks down everything you need to know about MOLLE system setup — from understanding how the webbing works to building a balanced, functional loadout from scratch. Whether you're an airsoft player gearing up for your first game or a beginner exploring tactical gear, this is your starting point.
What Is the MOLLE System?
MOLLE stands for Modular Lightweight Load-carrying Equipment. Originally developed for the U.S. military in the late 1990s, it's now the global standard for modular tactical gear attachment.
The system works through a simple but brilliant mechanism: rows of nylon webbing sewn onto vests, backpacks, chest rigs, and belts — and MOLLE-compatible pouches that weave through that webbing to lock securely in place.
Why MOLLE Matters
- Modularity: Attach, remove, and reposition pouches in seconds
- Durability: Military-grade nylon webbing built to handle real-world abuse
- Compatibility: Thousands of pouches, holsters, and accessories from dozens of brands all work on the same system
- Customization: Build a loadout that fits your mission, body, and preferences — not someone else's
Understanding MOLLE Webbing: The Basics
Before you start attaching pouches, you need to understand how the webbing is structured.
MOLLE Webbing Dimensions
Standard MOLLE webbing follows a consistent spec:
- 1-inch wide nylon straps
- 1.5-inch spacing between rows
- Rows are typically spaced 1 inch apart vertically
Pouches are designed to weave through these rows using PALS (Pouch Attachment Ladder System) straps — the rows of webbing on the back of each pouch that thread through the vest's webbing and lock in place.
How to Attach a MOLLE Pouch (Step by Step)
- Align the pouch against the webbing where you want it positioned
- Thread the first strap of the pouch through the top row of webbing on the vest, from left to right
- Weave down through the pouch's own webbing row
- Thread through the next row of vest webbing, continuing the weave pattern
- Repeat until all straps are threaded
- Secure the retention clip or snap at the end of the strap to lock the pouch in place
Pro tip: A properly attached MOLLE pouch should not move at all when you tug it firmly. If it shifts, re-thread it — a loose pouch is a safety hazard and an annoyance in the field.
Step-by-Step: How to Set Up Your MOLLE System
Step 1: Choose Your MOLLE Platform
Your MOLLE setup starts with the base platform. The most common options are:
- Tactical Vest / Plate Carrier — Maximum coverage and storage, ideal for heavy loadouts
- Chest Rig — Lightweight, front-access only, great for airsoft and fast-moving scenarios
- Tactical Belt — Minimalist setup for sidearms, dump pouches, and EDC essentials
- Tactical Backpack — MOLLE panels on the outside for attaching additional pouches
For beginners: Start with a chest rig or a simple plate carrier. They're easier to set up, lighter to wear, and give you enough MOLLE real estate to build a functional loadout without overwhelming you.
Step 2: Define Your Mission Profile
Before you attach a single pouch, ask yourself: What am I actually doing in this loadout?
Your mission profile determines everything — what pouches you need, where they go, and how much weight you're carrying.
- Airsoft / MilSim: Mag pouches, dump pouch, radio pouch
- Hiking / Outdoor: Water bottle pouch, first aid kit, EDC organizer
- Range Day: Mag pouches, admin pouch, dump pouch
- EDC / Urban: Phone pouch, wallet, multi-tool holder
Step 3: Prioritize Your Pouches
Not all pouches are equal in importance. Organize them into tiers:
Tier 1 — Mission Critical:
- Magazine pouches
- Pistol holster
- Medical / IFAK pouch
Tier 2 — Frequently Used:
- Dump pouch
- Admin pouch
- Radio pouch
Tier 3 — Support Items:
- Water bottle pouch
- Utility pouches
- Extra storage
Step 4: Plan Your Pouch Placement
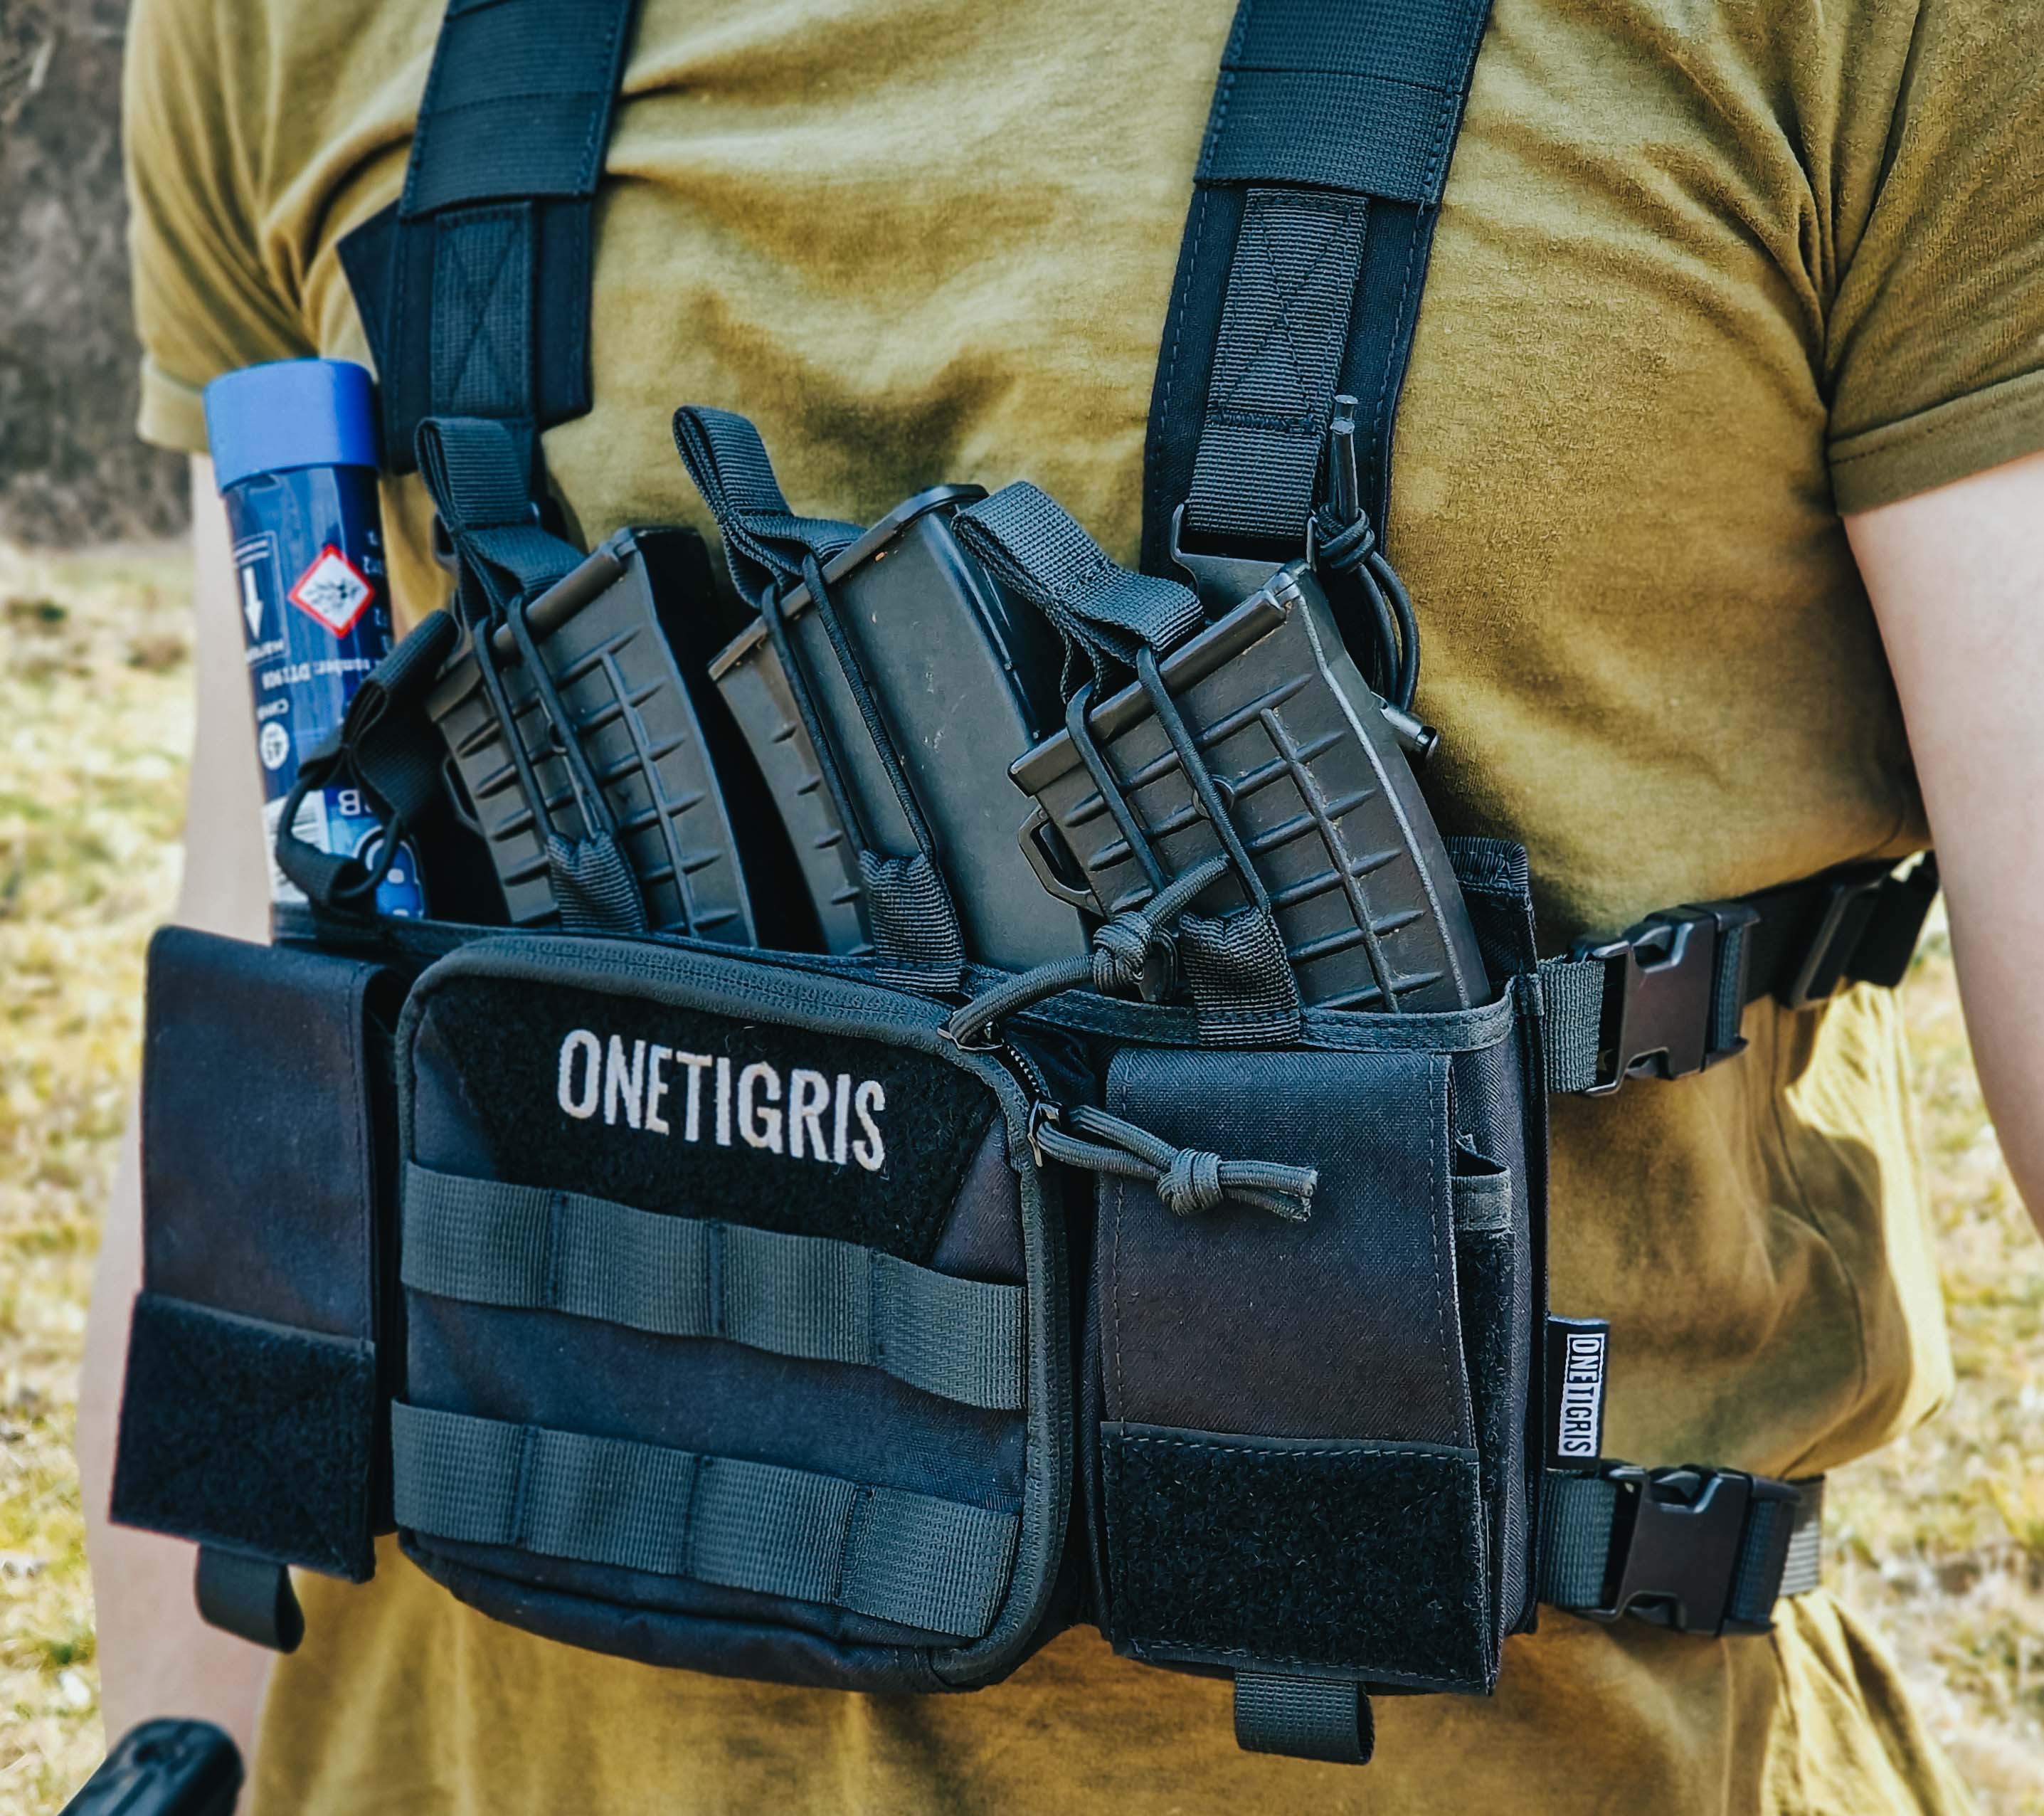
Front Panel (Chest / Sternum Area)
- Magazine pouches go here — center or slightly offset for dominant-hand access
- Admin pouch sits at the top for maps, documents, or a notepad
- Keep this zone uncluttered — you need to move fast
Side Panels
- Radio pouch on your non-dominant side
- Utility pouches for secondary items
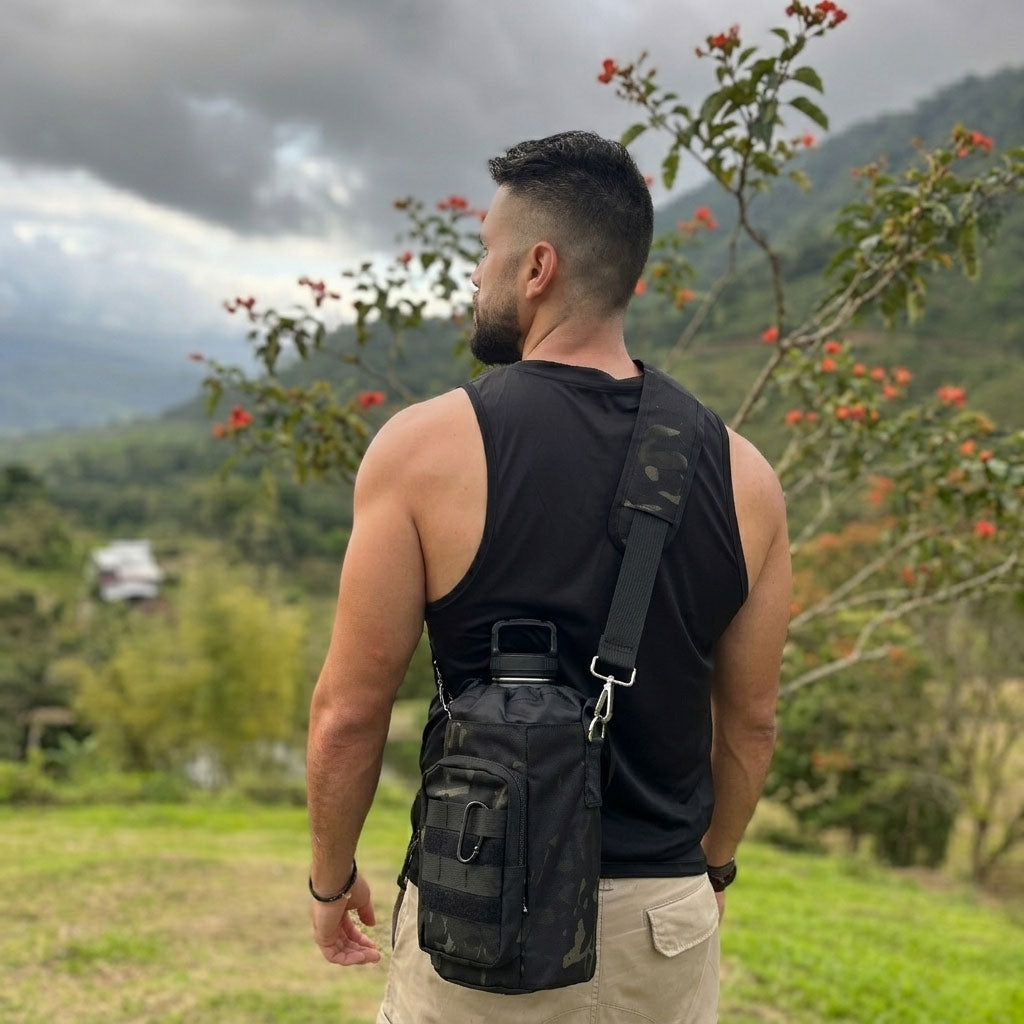
- Water bottle pouch if not on a belt or backpack
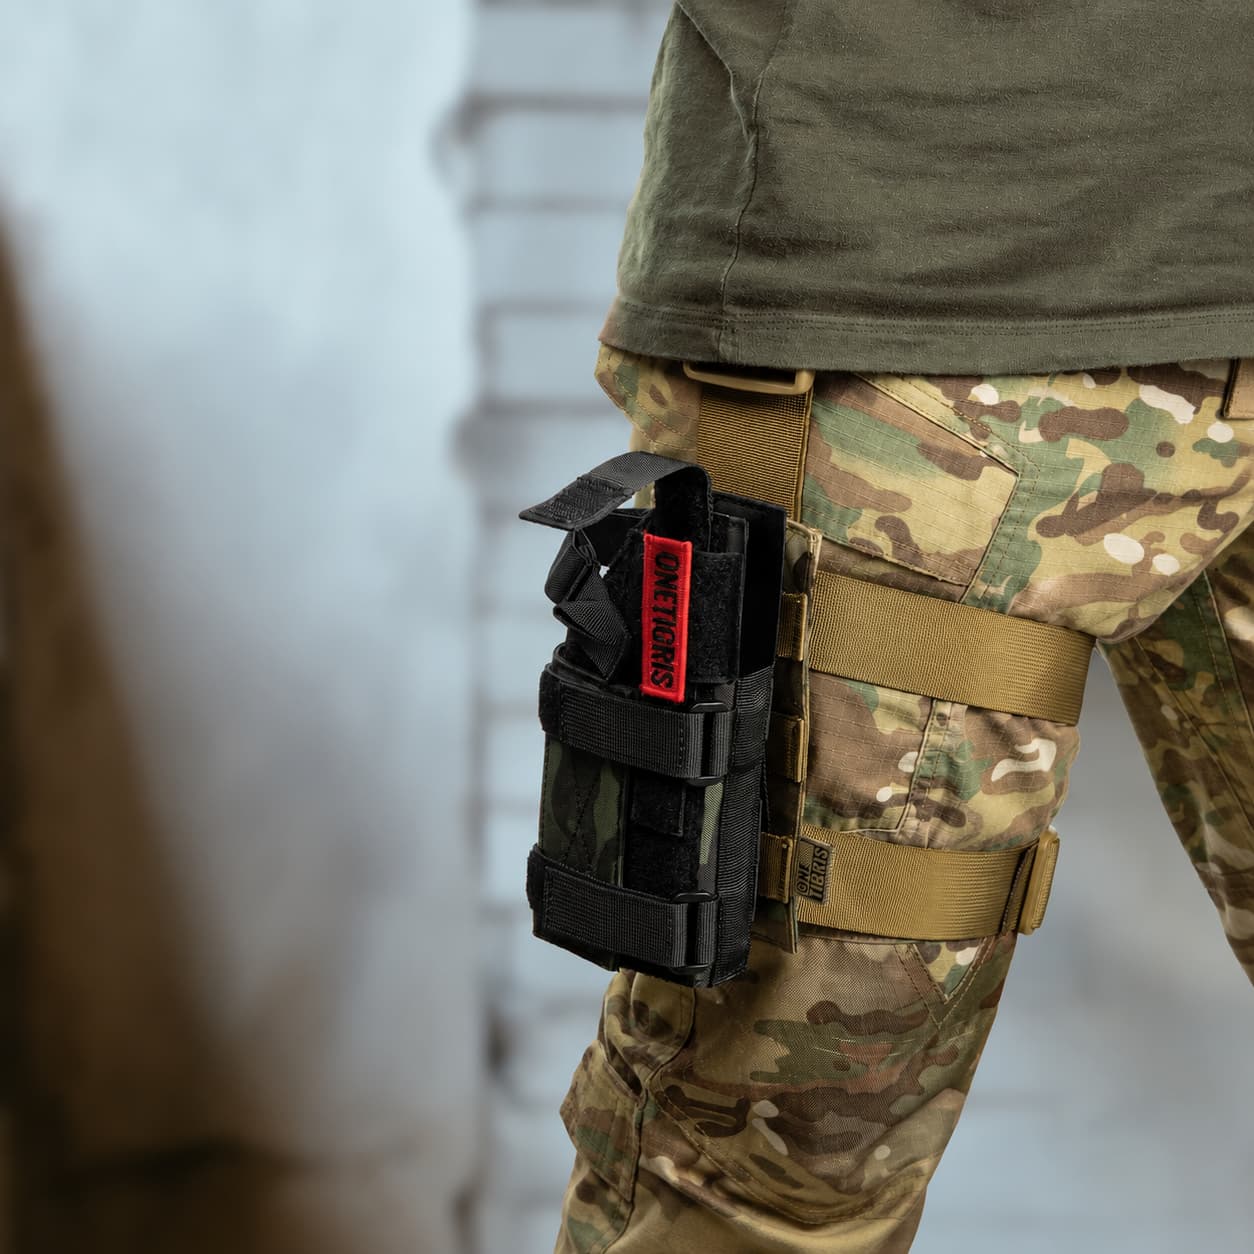
Belt / Lower Body
- Dump pouch on your non-dominant side
- Pistol holster on your dominant side
- IFAK on your non-dominant side for cross-draw access
Step 5: Balance Your Load
- Distribute weight evenly left-to-right across your platform
- Keep heavy items close to your body and high on the vest
- Light items go lower or on the periphery
- Test your setup by wearing it for 15–20 minutes before committing
Step 6: Test, Adjust, and Refine
Your first MOLLE setup won't be your final one. After your first use, ask yourself:
- Did I reach for something and find it wasn't where I expected?
- Was anything uncomfortable or digging into me?
- Did I carry anything I never touched?
- Was anything missing that I needed?
Common MOLLE Setup Mistakes (And How to Avoid Them)
❌ Mistake 1: Overloading Your Platform
More pouches ≠ better loadout. Start minimal and add only what you actually use.
❌ Mistake 2: Ignoring Dominant Hand Access
Your most-used items need to be accessible with your dominant hand without awkward reaching.
❌ Mistake 3: Loose Pouch Attachment
Always double-check that every pouch is fully threaded and locked before heading out.
❌ Mistake 4: Copying Someone Else's Loadout Exactly
Use others' setups as inspiration, not blueprints. Body size and mission profile matter.
❌ Mistake 5: Skipping the Wear Test
Always wear your full setup before you need it in the field.
Pro Tips for a Better MOLLE Setup
- Use a MOLLE panel board to plan your layout before attaching anything to your vest
- Color-code or label pouches in training to build muscle memory
- Zip-tie loose strap ends after threading to prevent snagging
- Mix pouch sizes intentionally — small, medium, and large creates a more ergonomic layout
- Consider your clothing layers — a t-shirt setup may need adjustment with a jacket
- Start with quality webbing platforms — cheap MOLLE webbing stretches and deforms over time
Recommended Starter Loadout for Beginners
Here's a simple, functional setup that covers the basics without overwhelming you:
- Front center: 2x Double Mag Pouch — Primary magazine storage
- Front top: Admin Pouch — Documents, small tools, notepad
- Left side: Dump Pouch — Spent magazine disposal
- Right side: Utility Pouch — Secondary items
- Belt left: IFAK Pouch — Basic medical
- Belt right: EDC Pouch — Phone, wallet, keys
FAQ: MOLLE System Setup
Q1: What does MOLLE stand for?
MOLLE stands for Modular Lightweight Load-carrying Equipment — a military-developed system for attaching pouches and accessories using interwoven nylon webbing.
Q2: Are all MOLLE pouches compatible with all MOLLE vests?
Generally yes. The MOLLE/PALS standard is consistent across most reputable brands. Avoid budget gear with non-standard webbing spacing.
Q3: How many pouches should a beginner start with?
Start with 3–5 pouches maximum. Cover mission-critical needs first, then add more based on real use.
Q4: Can I use MOLLE gear for everyday carry (EDC)?
Absolutely. MOLLE-compatible phone pouches, EDC organizers, and belt setups work great for daily life — the same modularity that works in the field works on your commute.
Q5: How do I know if a pouch is properly attached?
A properly attached MOLLE pouch should be completely immobile when pulled firmly in any direction. If it shifts or rattles, re-thread it and ensure the retention clip is fully engaged.
Q6: What's the difference between a chest rig and a plate carrier?
A chest rig is lightweight and front-access only — ideal for airsoft and fast-moving scenarios. A plate carrier holds ballistic plates and offers more MOLLE real estate. For beginners, a chest rig is usually the better starting point.
Q7: Can I mix pouches from different brands?
Yes — that's one of MOLLE's greatest strengths. Mix and match freely as long as all pieces are MOLLE/PALS compliant.
Conclusion
Setting up a MOLLE system isn't complicated once you understand the fundamentals — but it does require intentional thinking about what you need, where you need it, and how your body moves.
Start simple. Define your mission. Prioritize access. Balance your load. Then wear it, use it, and refine it based on real experience.
The MOLLE system rewards those who take the time to set it up thoughtfully. A well-configured loadout disappears into the background — you stop thinking about your gear and start focusing on the task at hand.
Ready to build your first MOLLE setup? Browse our tactical vests & chest rigs, explore our full range of MOLLE pouches & bags, or start with our mag pouches — all built to the same modular standard, designed for real-world use.
Have questions about your specific setup? Drop them in the comments below — we read every one.